Scripting Quick Start
Start your Server and first Package in under 10 minutes!
Server Download
To download the server, please click on the following link and save it to your computer.
Creating a Basic Package
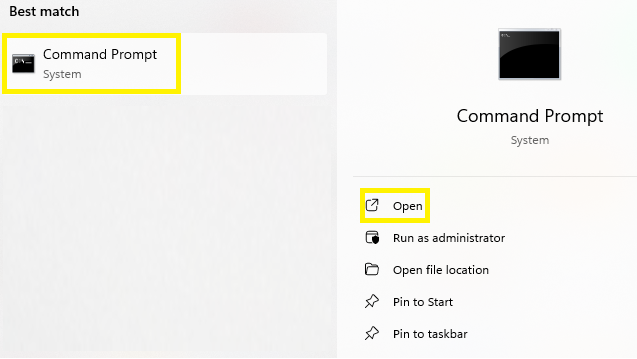
After downloading the server, let's create a basic Package by opening a command line by clicking in start and then typing CMD. Click in the Command Prompt to open it (or click in open)
Navigate to where your HELIXGameServer.exe file is and then type the following command:
HELIXGameServer.exe --cli add package awesome-pkg
This command will run the CLI to create your new package, fill the required information or just hit the enter key until the process is completed:
[warning]  Config.toml not found! Creating a new one!
[debug]    Fetching Store Data...
[display]  Please enter the Package Title: (my-awesome-package)
[display]  Please enter the Package Author: ()
[display]  Please enter the Package Type ('script', 'game-mode', 'map' or 'loading-screen'): (game-mode)
[debug]    Creating Package 'my-awesome-package' folder...
[debug]    Creating Package 'my-awesome-package' Package.toml...
[debug]    Creating Server/Index.lua...
[debug]    Creating Shared/Index.lua...
[debug]    Creating Client/Index.lua...
[display]  Package 'my-awesome-package' has been created!
You will end up with the folder Packages/ which inside will have another folder called my-awesome-package/.
And then inside there will be 3 other folders: Server/, Client/ and Shared/, and a package file Package.toml.
Additionally, if this was the first time running the CLI, it will also create a Config.toml file at the root of the server folder executable. This is the server configuration file.
Adding Script functionalities
Open the file my-awesome-package/Server/Index.lua in your preferred editor (we recommend using VSCode), and let's edit our first script. Let's spawn some Props.
You can copy and paste the following code into your Index.lua file.
-- Let's print to Console a friendly message
Console.Log("Loading some Props =D")

-- Let's spawn some props
local my_cube     = StaticMesh(Vector(600, 0, 50),   Rotator(0, 0, 0), "helix::SM_Cube")
local my_cylinder = StaticMesh(Vector(600, 200, 0),  Rotator(0, 0, 0), "helix::SM_Capsule")
local my_sphere   = StaticMesh(Vector(600, 400, 50), Rotator(0, 0, 0), "helix::SM_Sphere")
Go to File -> Save or do Crtl+S key to save the changes to the Index.lua file.
Add the package and map to the Config.toml file
Config.toml is the file that has the configurations to run the server, this TOML file is on the root folder where the HELIXGameServer.exe was saved. Double click to open the file and add the package name and map as follows:
# HELIX configurations
[world]
    # game-mode package to load (set the main game-mode package to load - you can load only one 'game-mode' package type at once)
    game_mode =         "awesome-pkg"
    # packages list (set the packages you want to load)
    packages = [

    ]
    # asset packs list (this will additionally load the asset packs you define here)
    assets = [

    ]
    # default startup map
    map =               ""default-ocean-map""
    # banned HELIX account IDs
    banned_ids = [

    ]
In the line of game_mode add the package created and in the line map add a default map (more on default assets can be found here)
Starting the server
Now let's start the server with the package you just created! For that, simply double click or launch the server from the terminal:
./HELIXGameServer.exe
After starting it, your console will display something like this:
[display]  HELIX (C) Copyright. All Rights Reserved.
[display]  Starting Server at Port: 7777. Version: 0.32.26. Map: '"default-ocean-map"'.
[display]  Fetching Vault Data...
[display]  Loading Package 'awesome-pkg'...
[script]   Loading some Props =D
[display]  Package 'awesome-pkg' loaded.
You can see it loaded your package and outputted the text "Loading some Props =D" on it.
Join your server
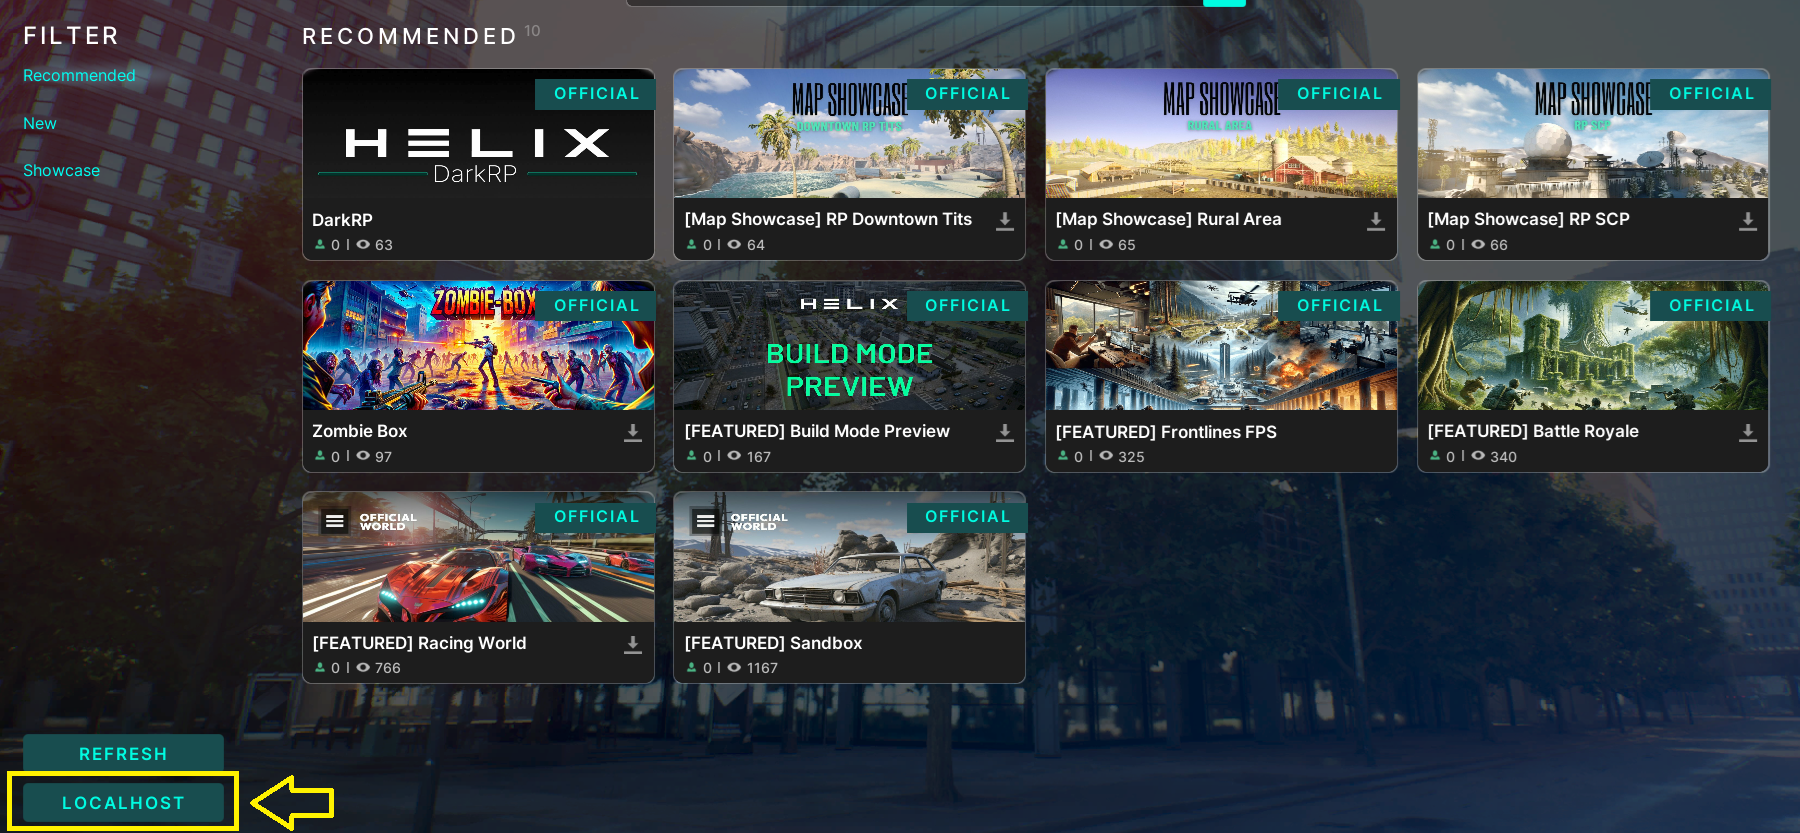
In order to connect to the server, Open HELIX game and in the main screen there is a LOCALHOST button, with the HELIXGameServer.exe file running click on that button to join the world.
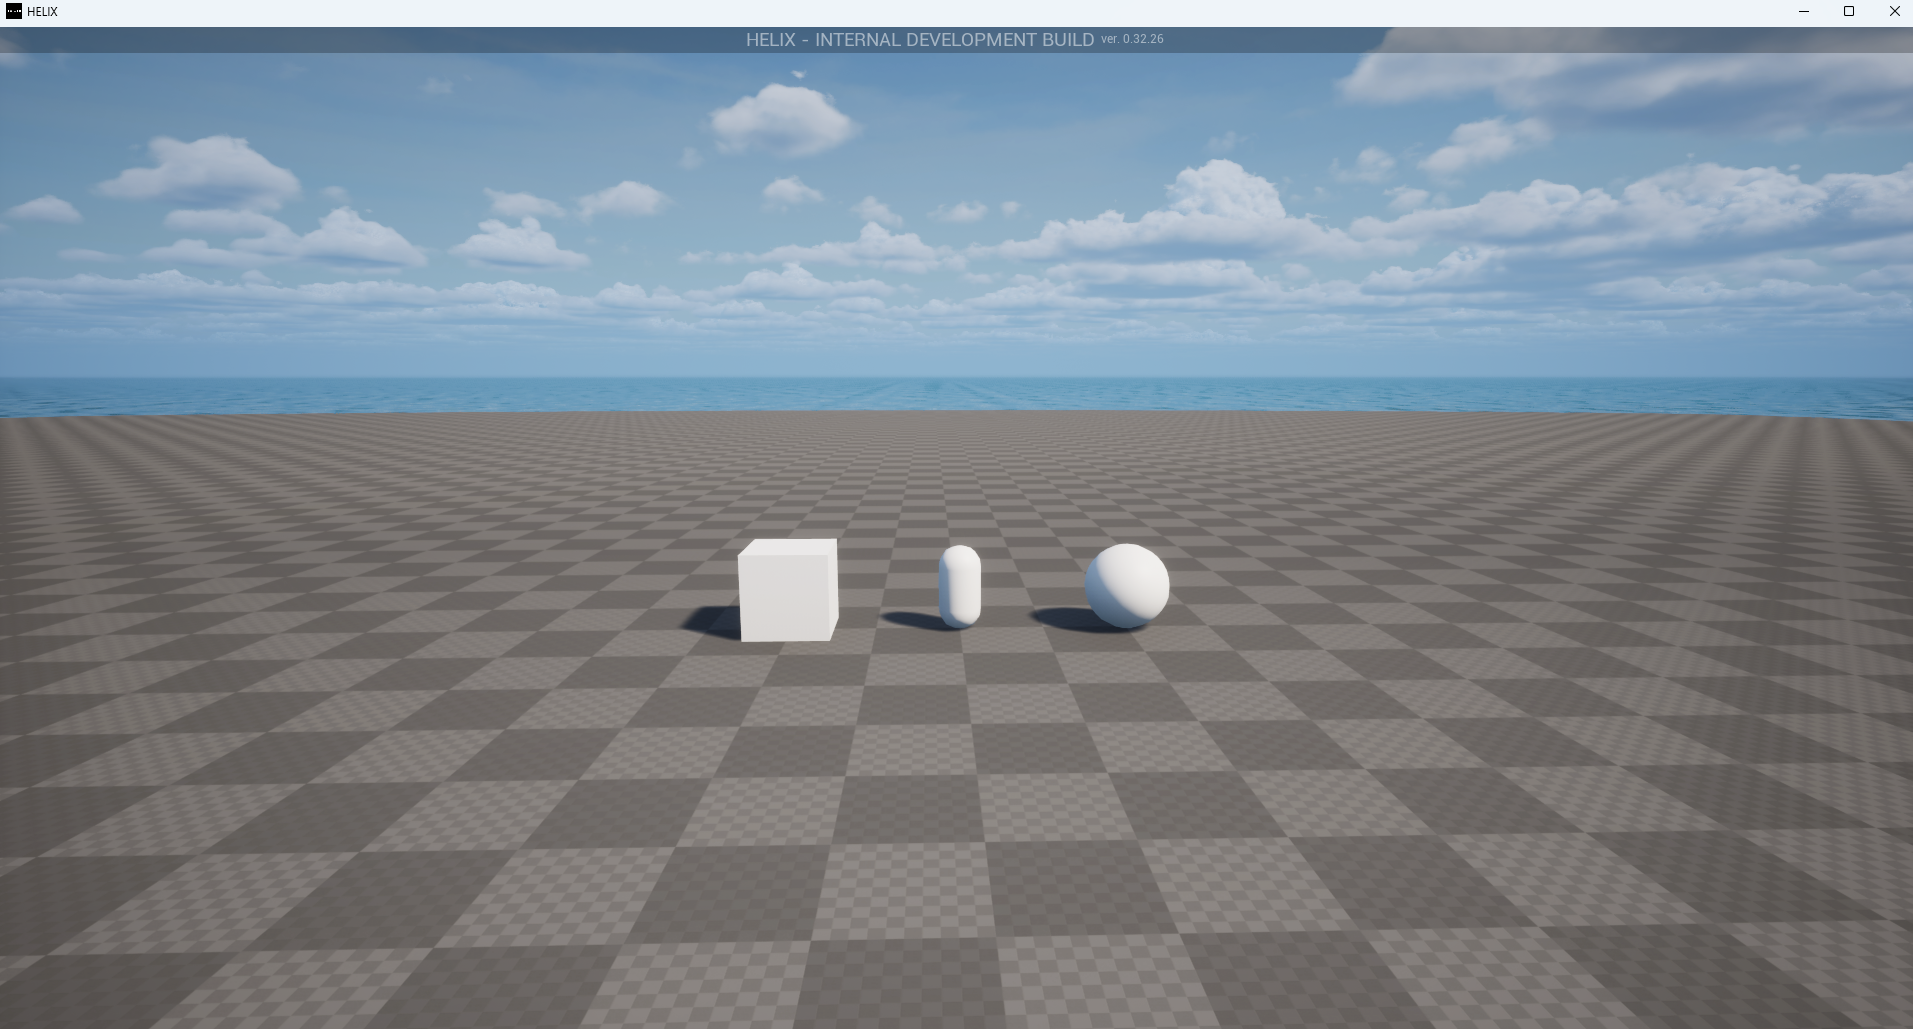
After connecting, you will be a flying pawn and will be able to see the props spawned! 😁
Extra Step: Spawning Characters
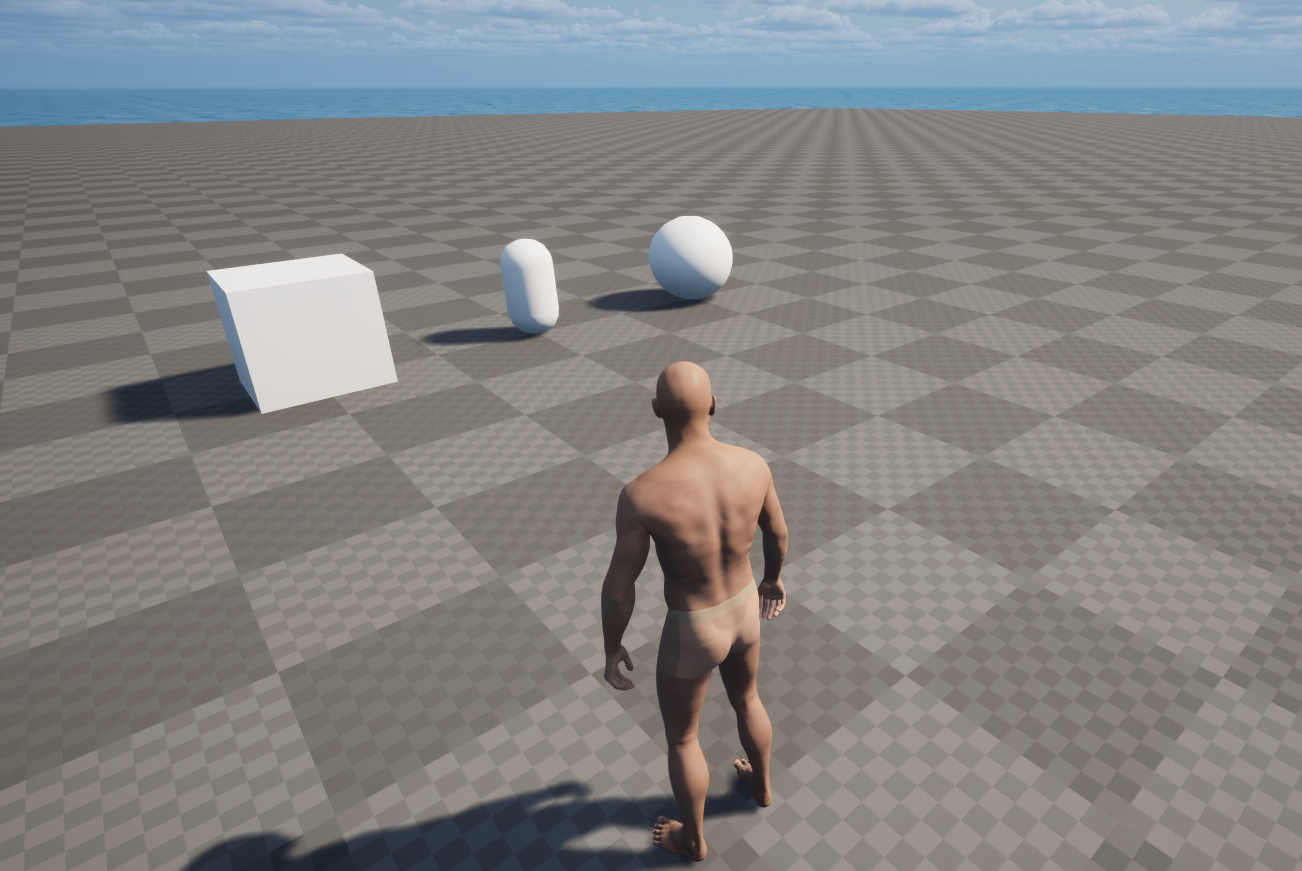
Spawning a Character for the Player
You may have noticed you are just a wandering soul flying around, let's give you some flesh! For that, we will need to interact with some Events.
Let's append some code in your Index.lua, to spawn a Character when the Player join the server:
-- Function to spawn a Character to a player
function SpawnCharacter(player)
    -- Spawns a Character at position 0, 0, 0 with default's constructor parameters
    local new_character = Character(Vector(0, 0, 0), Rotator(0, 0, 0), "helix::SK_Male")
          new_character:AddSkeletalMeshAttached("head", "helix::SK_Male_Head")

    -- Possess the new Character
    player:Possess(new_character)
end

-- Subscribes to an Event which is triggered when Players join the server (i.e. Spawn)
Player.Subscribe("Spawn", SpawnCharacter)

-- Iterates for all already connected players and give them a Character as well
-- This will make sure you also get a Character when you reload the package
Package.Subscribe("Load", function()
    for k, player in pairs(Player.GetAll()) do
        SpawnCharacter(player)
    end
end)
To apply your changes, type the command in the server console: package reload all. This will also live reload the packages and apply the changes immediatelly.
package reload all
[display]  CONSOLE: 'package reload all'.
[display]  Package 'awesome-pkg' unloaded.
[display]  Loading Package 'awesome-pkg'...
[script]   Loading some Props =D
[display]  Package 'awesome-pkg' loaded.
Destroying the Character when the Player leaves the Server
Note that the Character isn't destroyed automatically when the Player disconnects. For that, we will need to Subscribe for when the Player leaves the server (Destroy event) and manually destroying the Character.
Append this code:
-- When Player leaves the server, destroy it's Character
Player.Subscribe("Destroy", function(player)
    local character = player:GetControlledCharacter()
    if (character) then
        character:Destroy()
    end
end)
To apply your changes, type the command in the server console: package reload all.
Conclusion
- How to setup your Server
- How to setup a simple Package
- Basic interaction with entity Events
- Spawning Props
- Spawning & Destroying Characters