Helix Launcher Usage
The different sections of the HELIX Launcher will be shown
First run
The first time the HELIX launcher is excecuted, it will request the account information to login

Click on "CREATE ACCOUNT" and a new window will open where an invitation code can be used to register into the HELIX plataform
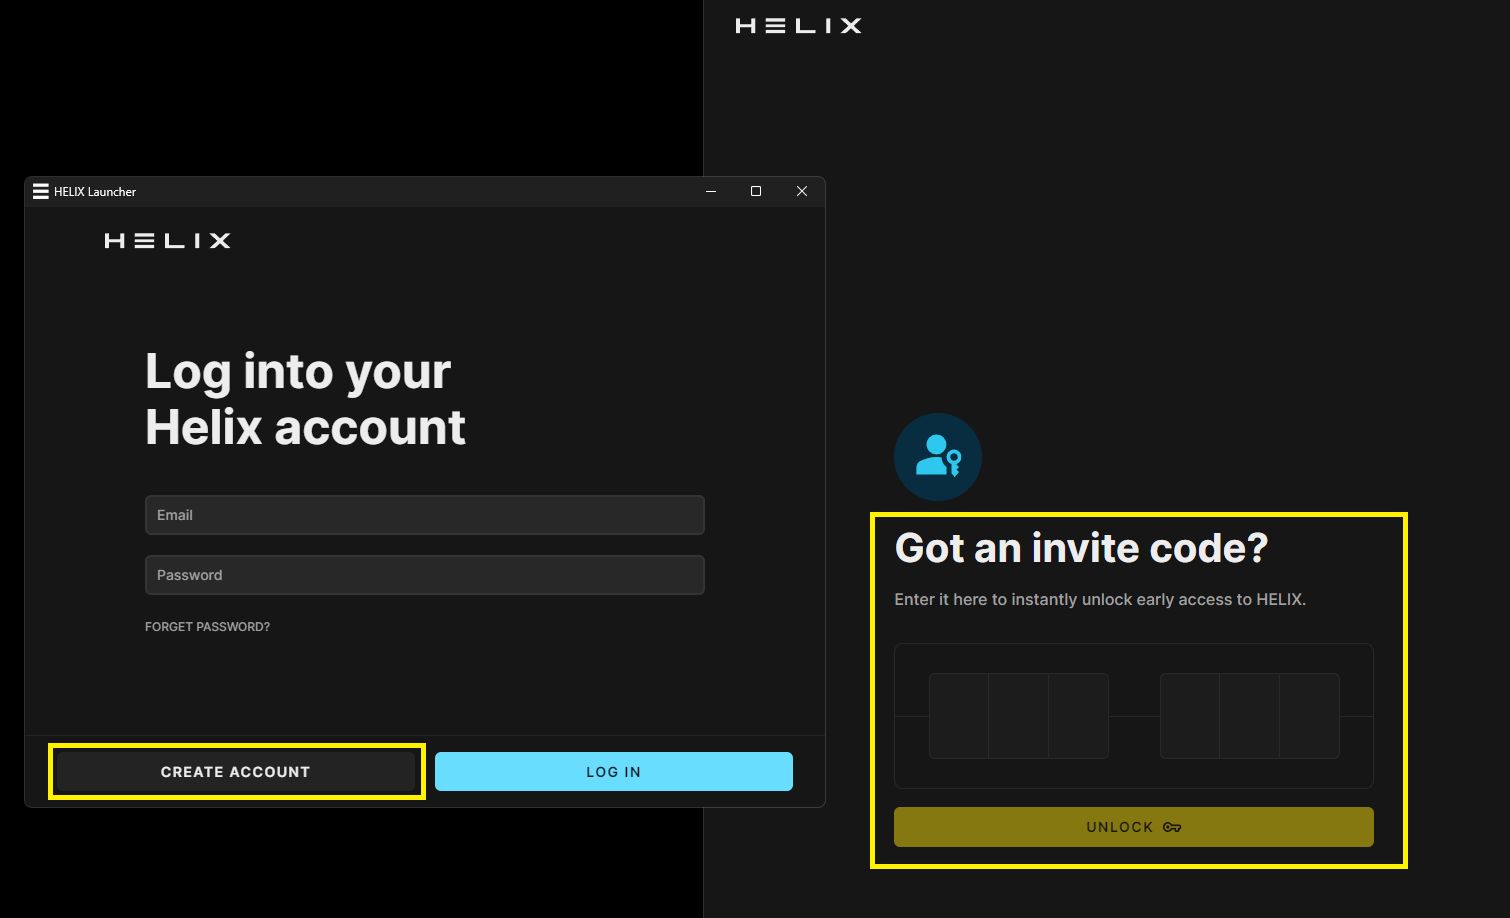
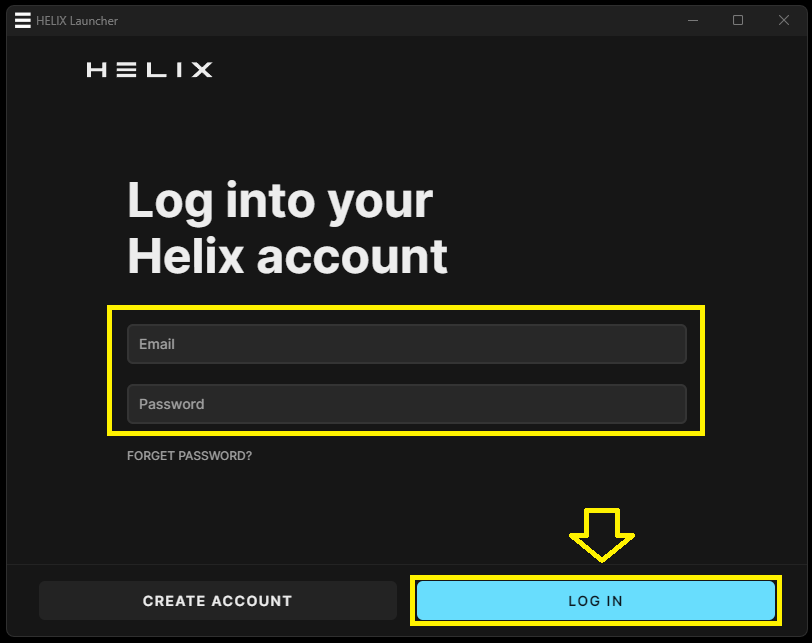
or if you already have an account, you can login directly by entering the email and password combination
Play Tab
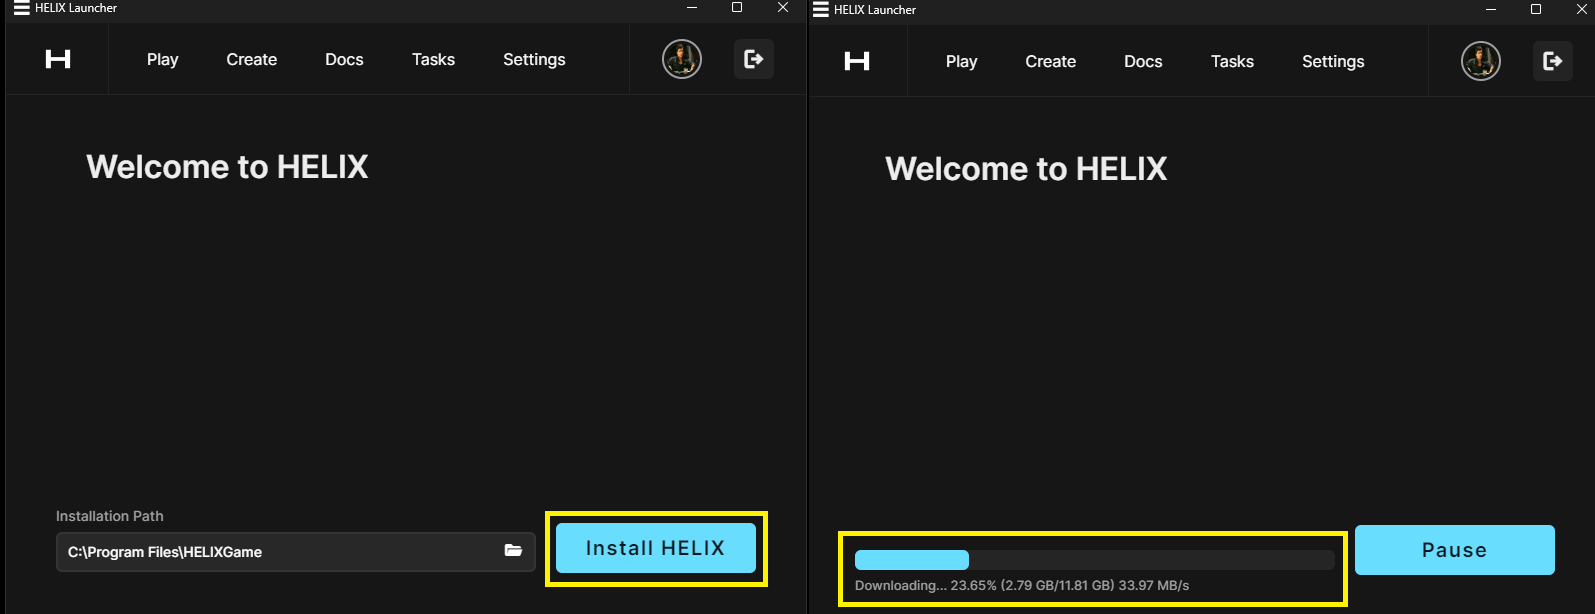
After the login, the Play tab will display the "Install HELIX" button with a default location. It is recommended to leave the defaults and click on "Install HELIX".
HELIX Client will start to install and a progress bar will be shown, please wait until this process completes.
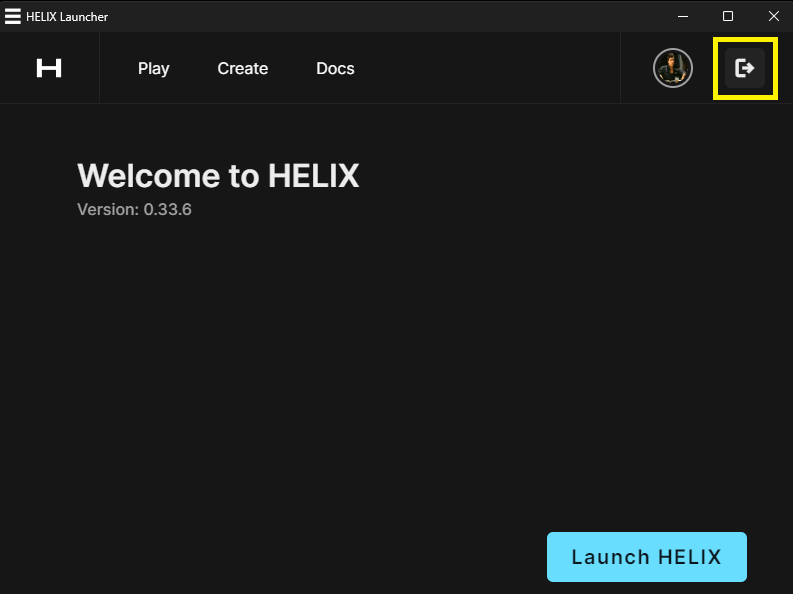
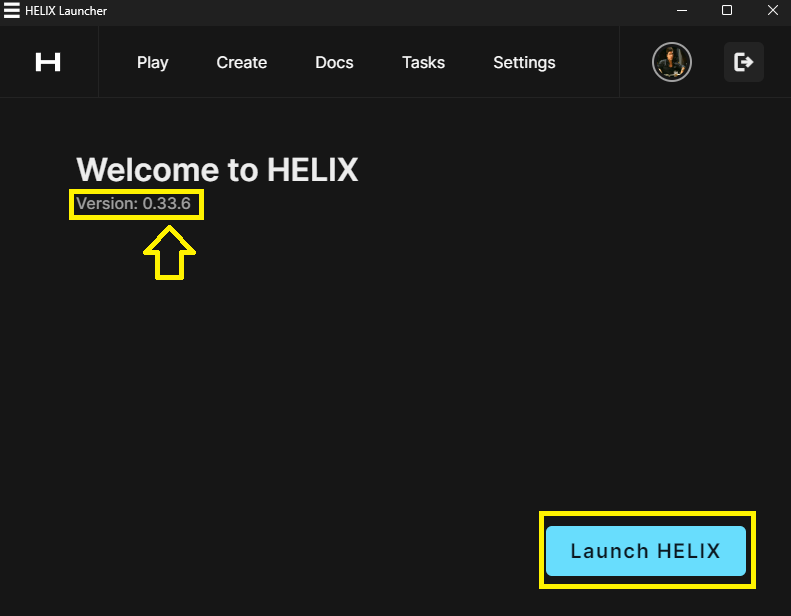
Now the HELIX launcher will display the current installed version and the Game Client can be launched by clicking on the "Launch HELIX" button.
Create tab
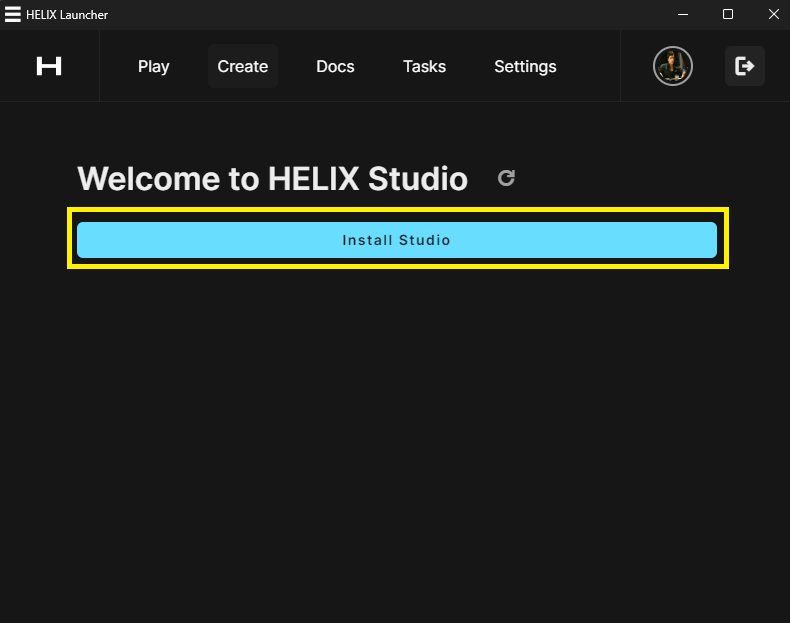
When clicking for the first time on the Create tab, a message will be displayed to install HELIX Studio. Helix Studio is the unreal plugin to create assets, items or worlds that can then be uploaded to HELIX hub
Click on the "Install Studio" button to begin.
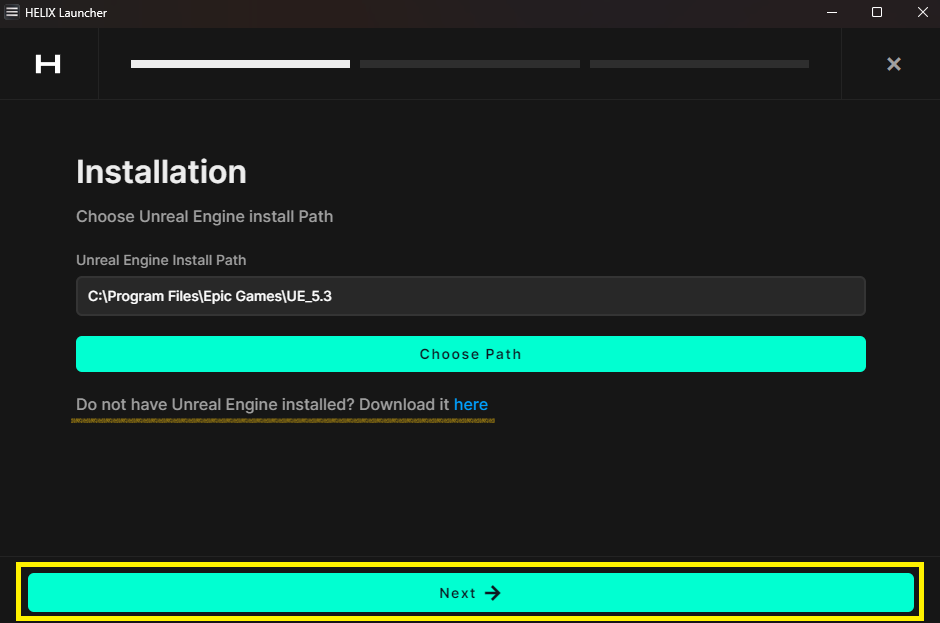
In the next screen, select the path where the Unreal Engine 5.3.x is installed, if when installing UE the defaults were used, the default information on this screen is OK. Click on "Next" to start installing HELIX Studio Plugin.
📝 Note: Prior to install HELIX Studio, the Unreal Engine must be installed first. In this page there is detailed information on how to install Unreal Engine 5.3.x or you can follow the link provided in the Launcher to install UnrealEngine directly.
After downloading and installing required files, the HELIX launcher will show the following message.
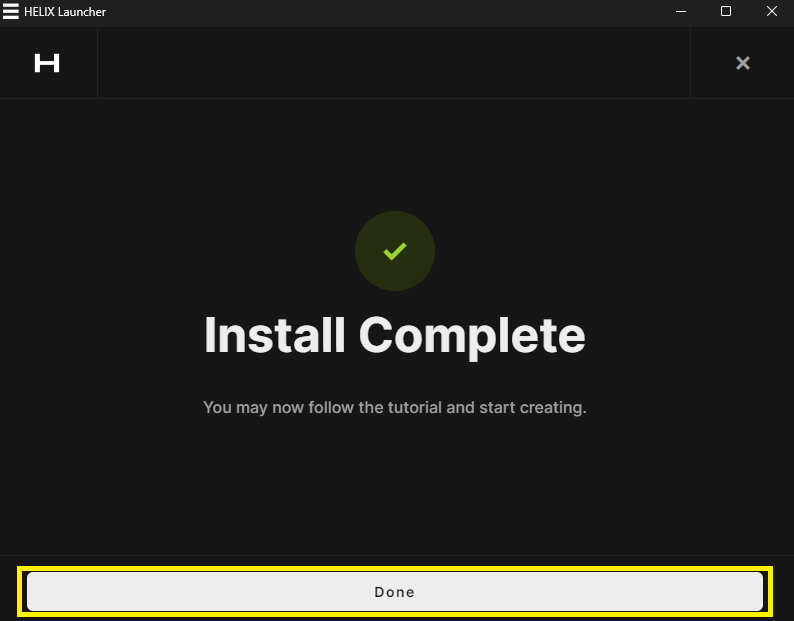
Click on "Done" to go back to the Create Tab and now if a new Studio version exist a button will appear. It is recommended to always update to the latest HELIX Studio version.

Now the HELIX Launcher has Studio available to start working with projects.
Starting a new project
To Start a new project with Studio, click on the "New Project" button, define a project name and set a default route where the project will be saved then click on "Create project".
In the last screen, click on "OPEN PROJECT" to excecute Studio

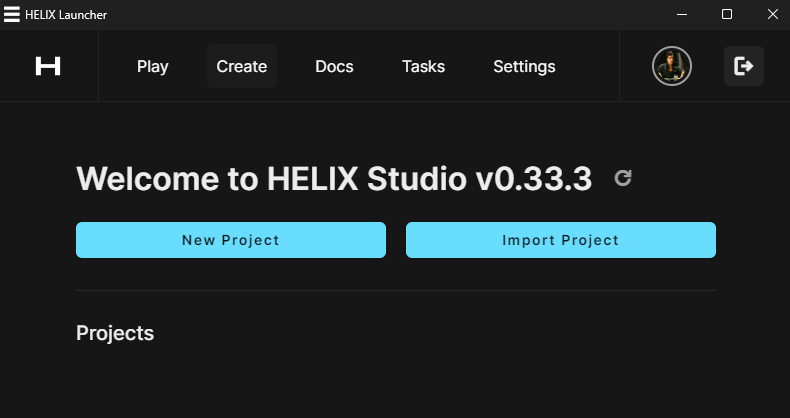
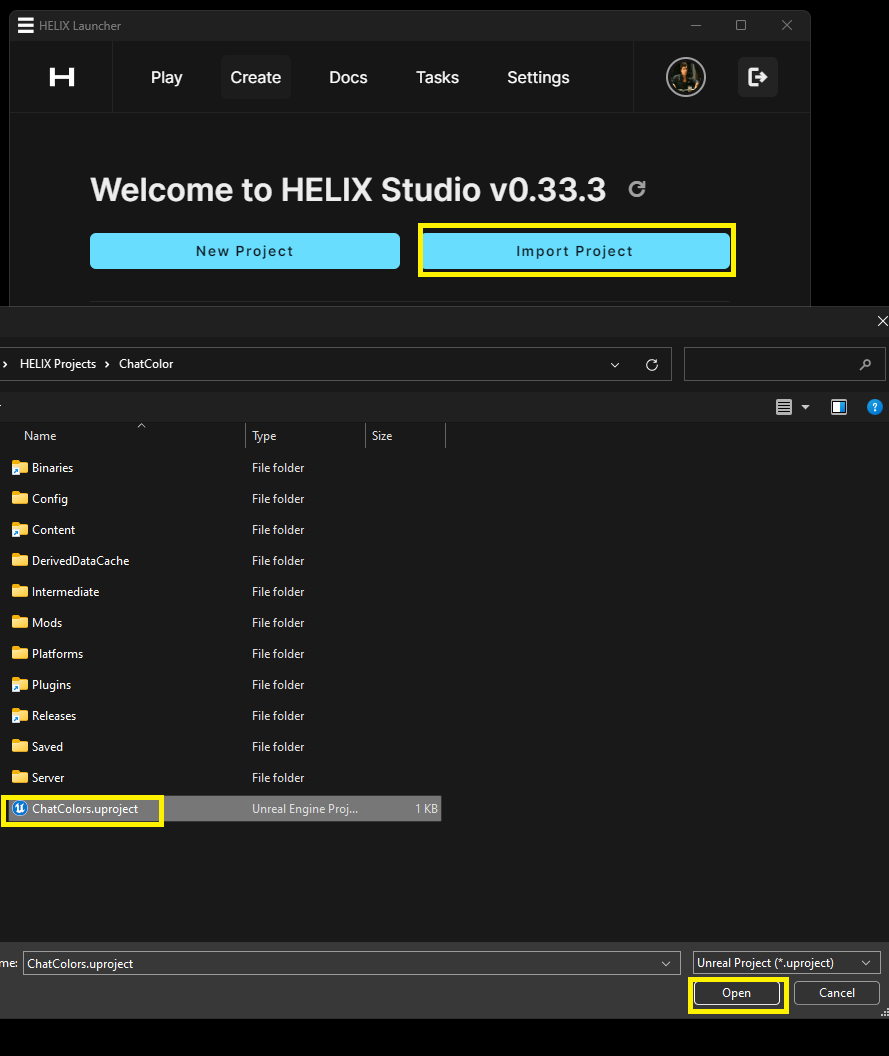
Import a project
Studio projects can be imported into HELIX launcher by clicking on "Import Project" and navigating to the location where the project is and select the .uproject file and clicking on "Open"
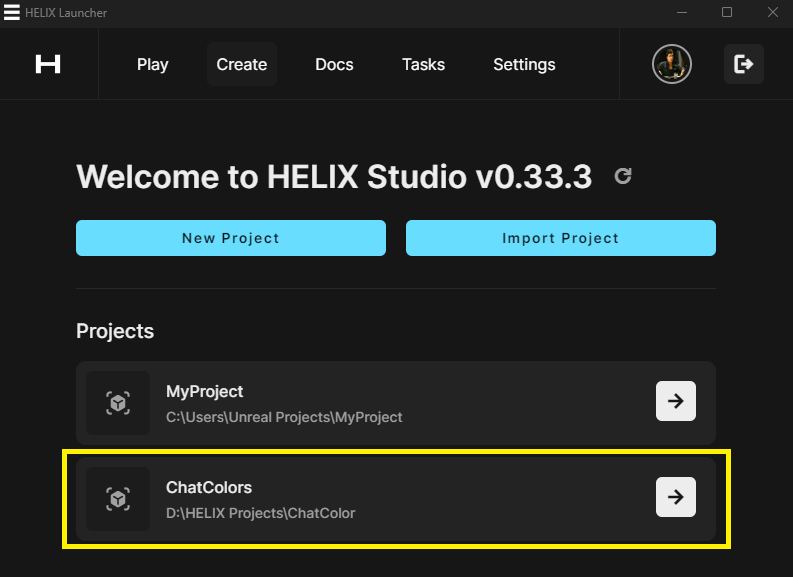
And then the project will be displayed in the Projects list
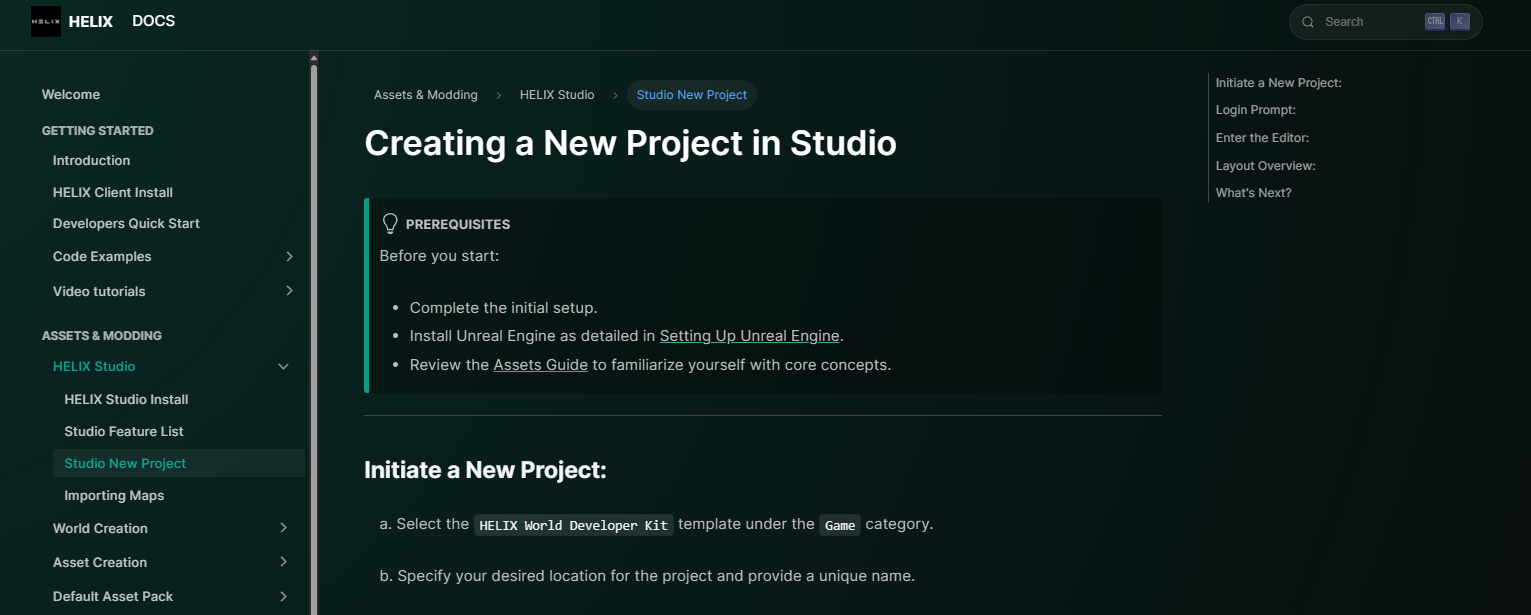
Docs tab
The docs tab will direct the user to Studio Documentation to Create a new project
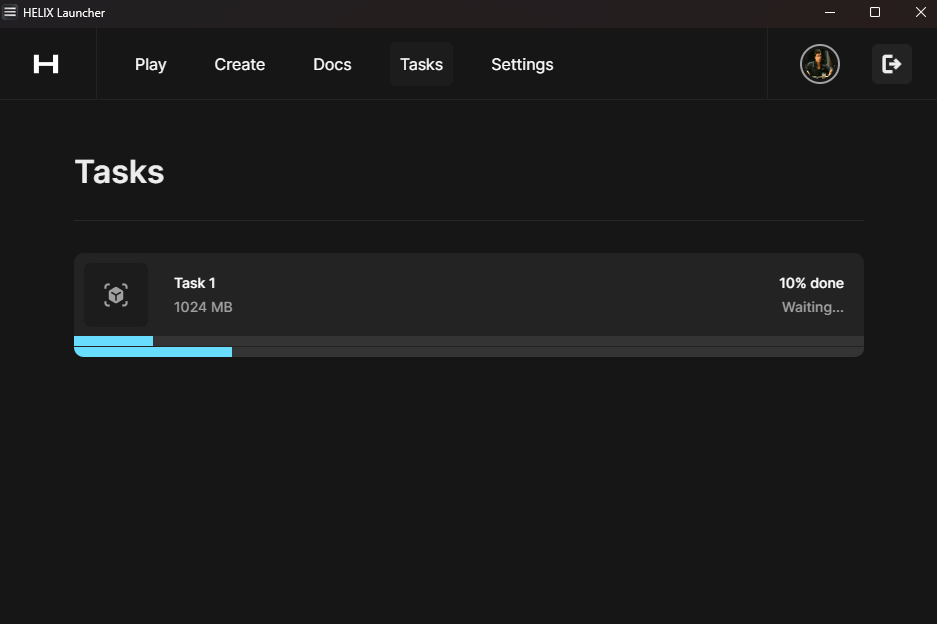
Tasks tab
-TBD-
Settings tab
In the Settings tab, there are options to uninstall the HELIX Client or Studio in case a clean install is desired. Also, all projects can be cleared from the projects list in the Create tab, note that the project files will still remain on disk. The Development section is to access other versions from HELIX Client but it requires a Dev Channel Key, this is not required for most users.
Profile icon
By Clicking on the profile icon, it will redirect to the Hub Account
![]()
Logout
By login out, the session will end and another user with different credentials can login.