Assets Development Kit
Using the Asset Development Kit is now a legacy way to create assets and soon will be deprecated, if making custom assets is required then Studio is recommended to do it. Studio is currently under heavy development but is better suitable for creating custom assets. Please review the asset guide for Studio.
Preparing the asset development kit to add items to HELIX.
HELIX provides a fully configurable and ready Unreal Project called Assets Development Kit (ADK) to help you integrating and exporting Assets and Maps much faster.
This project contains Placeholders, Tools and Correct References that must be used in order to create Characters or set proper Physical Materials for example.
⚠️ In order to use this docuemnt, you have to make sure to Set Up Unreal Engine before proceeding.
Downloading Assets Development Kit
Our ADK is uploaded on GitLab, please download it's latest version and extract it in your computer.
Opening the Project
After downloading and extracting ADK project files, inside the extracted folder there's going to be a file HELIXADK.uproject, double click on it to open it with Unreal Engine.
The first time opening it may take some time as the initial shaders must be compiled.
Now the asset development kit is ready to use, please refer to the Import assets using ADK or continue reading to learn about the available tools.
⚠️ Special Attention
Please do not MODIFY, DELETE, CREATE or COPY any file inside HELIX/, HELIXShared and CharacterSkeleton folders, otherwise the ADK will not work properly. Also make sure you DO NOT modify them unintentionally, if asked to save any modified file in there, cancel it! All references must be the way they are.
Updating to a newer ADK version
To update your Unreal project to a newer Assets Development Kit version, you just need to download the newest version from GitHub and extract/paste it over the existing project, overriding all files.
It is recommended to backup your settings at Config/ folder because they will be overridden in cases you modified it. Usually it's better to manually reapply your modified settings into the new Project settings after the updates.
Tools available in the ADK project
Here's a list of tools and blueprints which you can use to speed up and help creating assets:
- Placeholder Blueprints
HELIXShared/Blueprints/Placeholders/ - Lua Code Generator
HELIXShared/Blueprints/Utility/WBP_LuaCodeGenerator - Assets.toml Generator
HELIXShared/Blueprints/Utility/WBP_AssetsTomlGenerator - Physical Materials
HELIXShared/MaterialLibrary/PhysicalMaterials/ - Thumbnail Generator
HELIXShared/Blueprints/Utility/ThumbnailGenerator/
Placeholder Blueprints
HELIXShared/Blueprints/Placeholders/
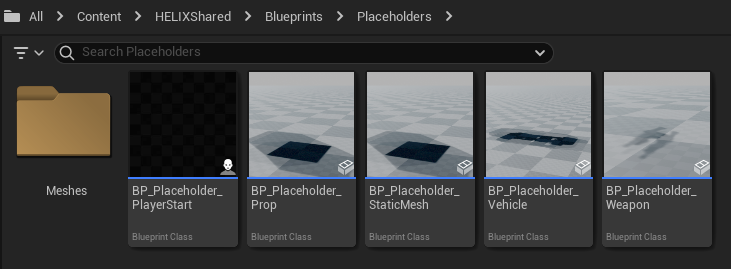
You can use the Placeholder Blueprints to set Spawn Positions of Weapons, Characters and Props. This works only to help you generating a Lua code with spawn positions after all. These Blueprints aren’t cooked with the map. Use the Lua Code Generator to generate the Lua script with all spawn locations.
Lua Code Generator
HELIXShared/Blueprints/Utility/WBP_LuaCodeGenerator
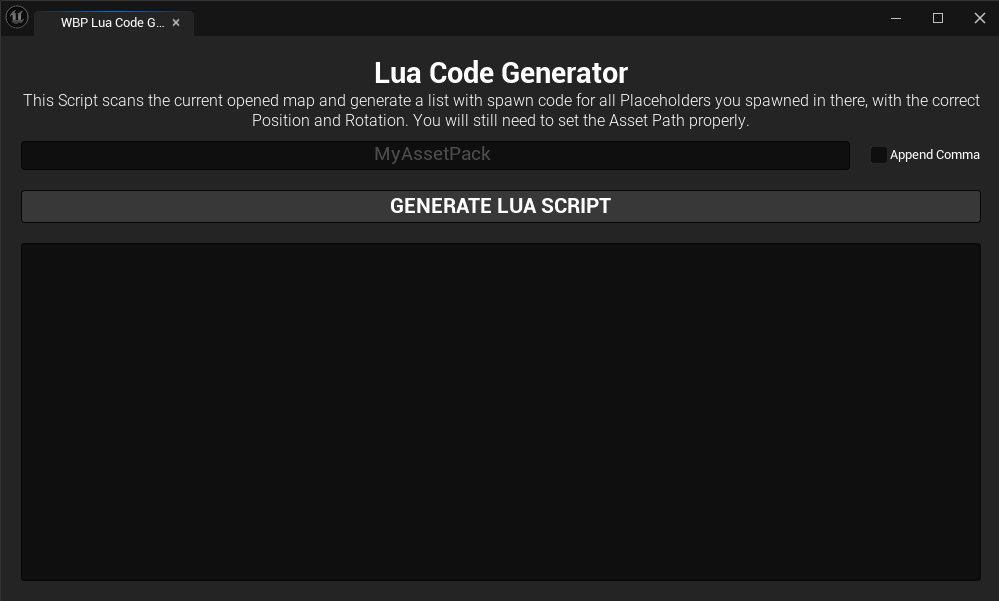
Lua Code Generator is an Editor Utility Widget which scans the map which is currently loaded in your Unreal and generate a list of spawn code with exact Location and Rotation for every Placeholder Blueprint you had spawned.
To open it, right click on it and press Run Editor Utility Widget:

Assets.toml Generator
HELIXShared/Blueprints/Utility/WBP_AssetsTomlGenerator

This is an Editor Utility Widget which scans a folder (determined by the TextBox) and generates the configuration for an Assets.toml with all Assets in the folder (which can be used in HELIX).
Physical Materials
HELIXShared/MaterialLibrary/PhysicalMaterials/

If you are creating a Material, you can (and should) use these Physical Materials to integrate better with HELIX. Using these Physical Materials will allow HELIX recognize which type of surface your Prop/Object is, giving it the proper auto-generated Hit or Footstep sound.
DO NOT modify or rename any Physical Materials, only use by referencing them in your Materials.
Thumbnail Generator
HELIXShared/Blueprints/Utility/ThumbnailGenerator/

We’ve shipped a Thumbnail Generator tool to help you generating .jpg images of your assets. To use that, just doubleclick on ThumbnailGenerator level and hit Play. Then you will be able to define a folder for search the assets (currently only Static and Skeletal Meshes are supported) and a folder to save the images (.jpg). You can optionally keep the directory hierarchy in the output folder or save all images in the same folder. Once you hit Generate, it will start loading all assets and taking a photo from them.
Note: this may be a slow process depending if your assets were already compiled previously.
It is also recommended to generate the Thumbnails twice, so you grant they will be saved in the max quality possible.
