Installing Unreal Engine
HELIX Studio is an Unreal Engine 5 plugin and the primary tool to create Worlds and Assets. Other versions of Unreal Engine are currently not supported.
💡Note: Studio is only required if customs assets are required. At the moment is recommended to skip this guide and come back later if needed.
This document is to install Unreal Studio 5.x.x, for details on how to install HELIX Studio after installing Unreal Engine, go to HELIX Launcher page
Users will need to download the Unreal Engine from within the Epic Games Launcher. If you don't have the Epic Games Launcher installed yet, you'll need to download it before proceeding
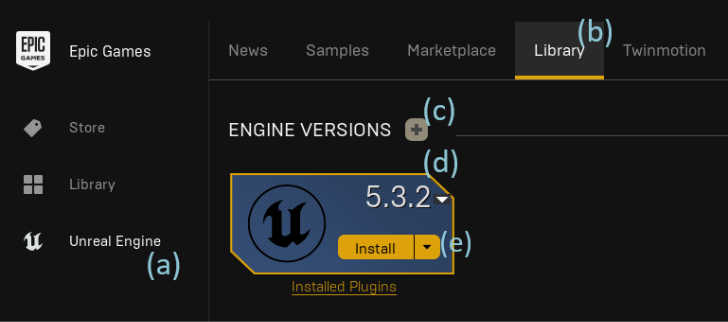
In EPIC Game Store install Unreal Engine 5.3.x
a. Select “Unreal Engine” on the left
b. Navigate to the Library Tab
c. Us the yellow “+” button to add a new Engine
d. Select Version 5.3.x by clicking on the version number drop down
e. Hit install and Select the desired location (We will use the default C:\Program Files\Epic Games)
f. Please wait unitl the install process finishes.
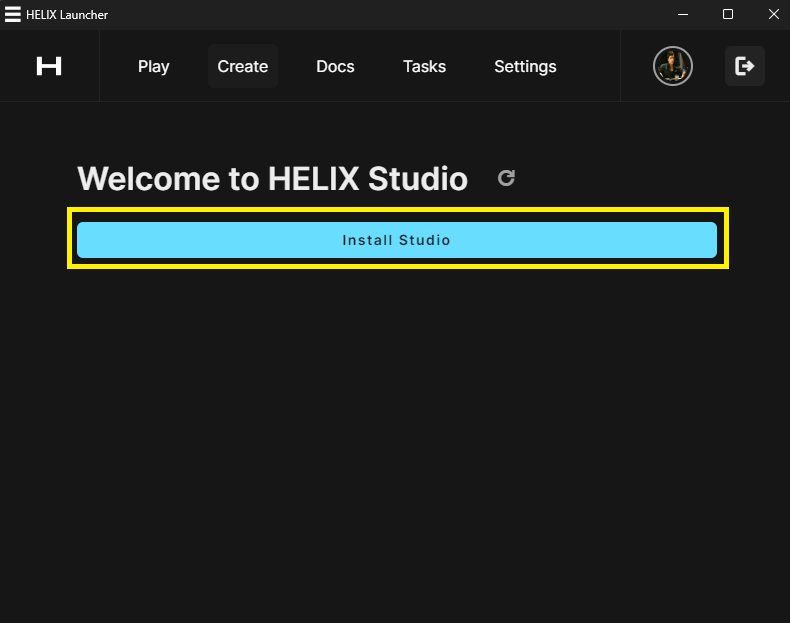
Install HELIX Studio Plugin
HELIX Studio is available through the HELIX Launcher, In the Create tab click on the "Install Studio" button.
More information about the Launcher and the Creation tab here
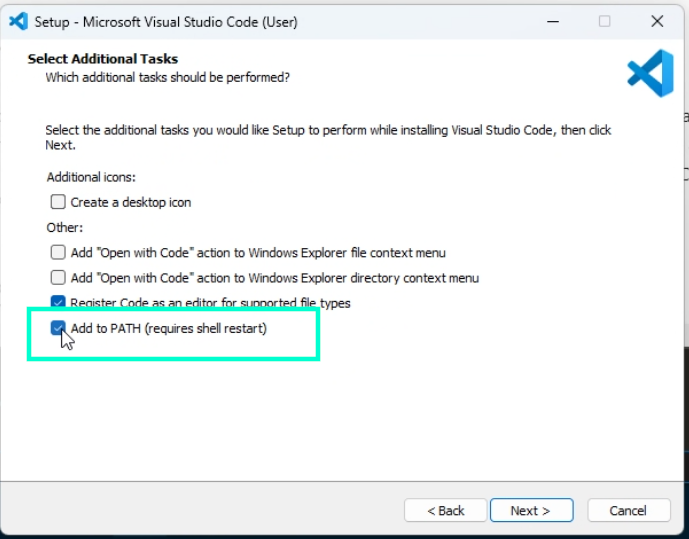
Install VS Code (Skip if you already have it installed)
a. Download the installer from VS Code website
b. During installation, make sure to select the “Add to PATH” option, otherwise HELIX Studio will be unable to open VS Code!
Launching HELIX Studio
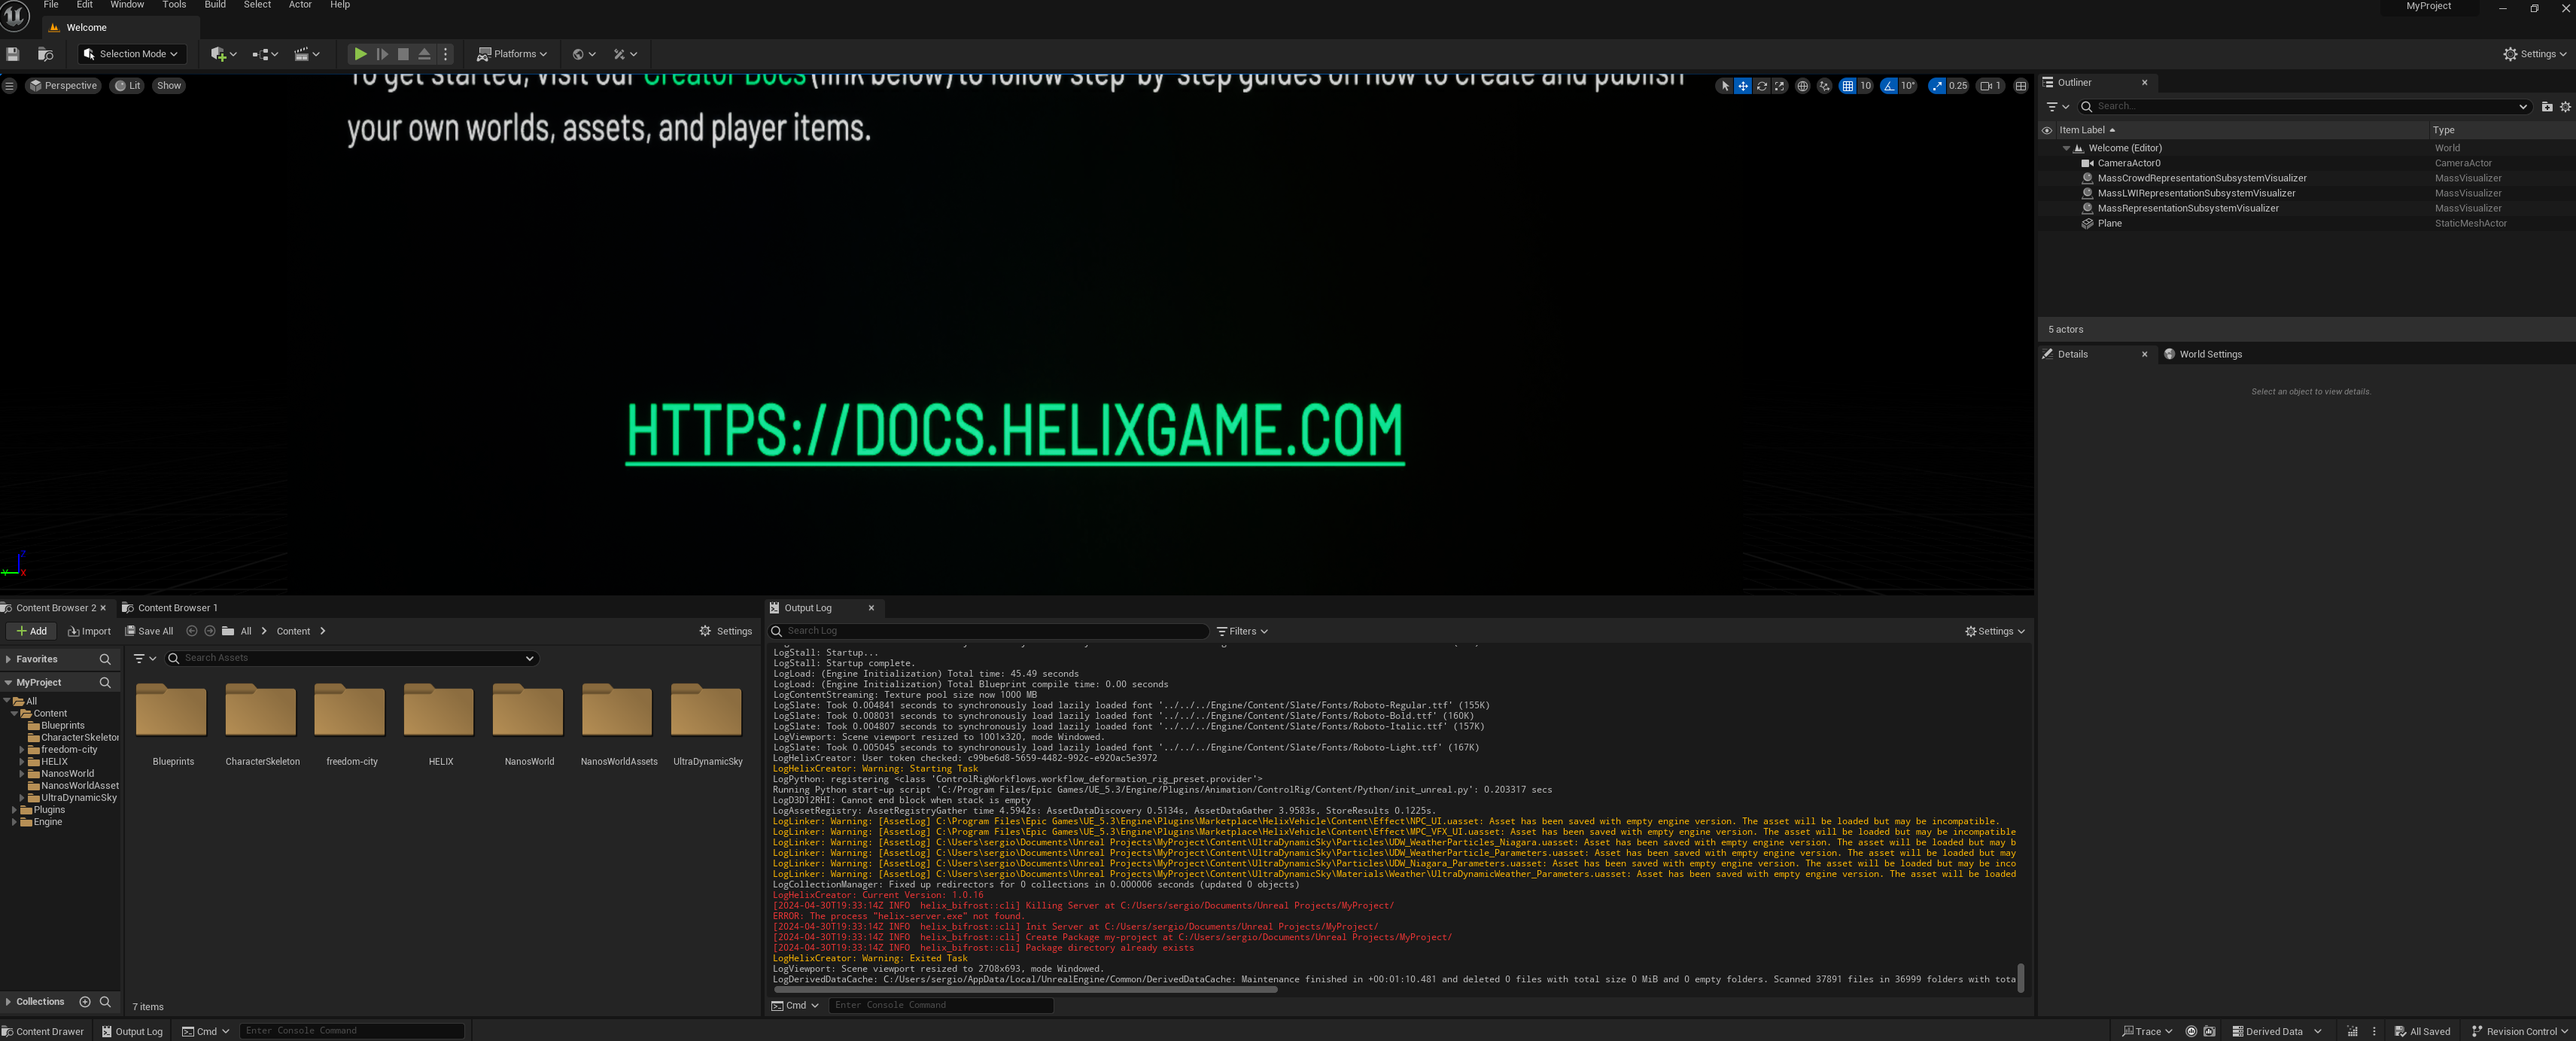
To open HELIX Studio, in the HELIX Launcher click in the Create tab and Click on "New Project"
This will open Unreal Engine with the Studio plugin loaded, more about using HELIX Studio from the HELIX Launcher can be found here

Ready, What’s next?
We’re now set and ready to create and build. We recommend to: