Developing Your Own Asset Pack
Before starting:
- Ensure you've set up your project as outlined in Setting Up Unreal Engine.
- Familiarize yourself with the Package Guide to grasp key concepts referenced in this guide.
Creating an Asset Pack
Open Studio and navigate to Asset -> New Asset Pack.
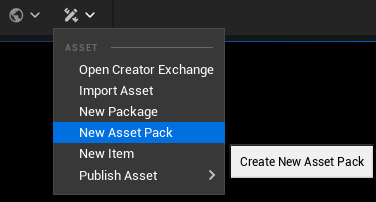
After clicking on New Asset Pack a pop-up window will be shown.
Name the asset pack to be created.
⚠️ Use only lowercase letters and dashes when naming an assetpack.Then click on the
Create Packagebutton.
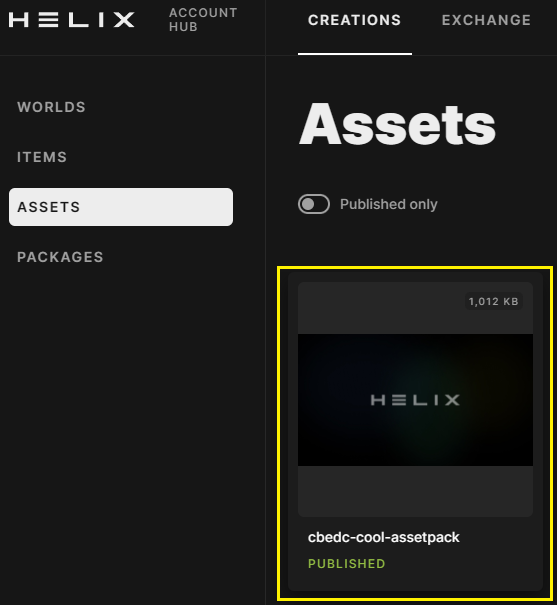
The created assetpack will be shown in the content drawer under All -> Plugins -> [assetpack-name]
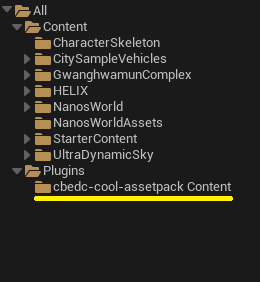
The folder will be ready to store custom assets.
Importing Assets
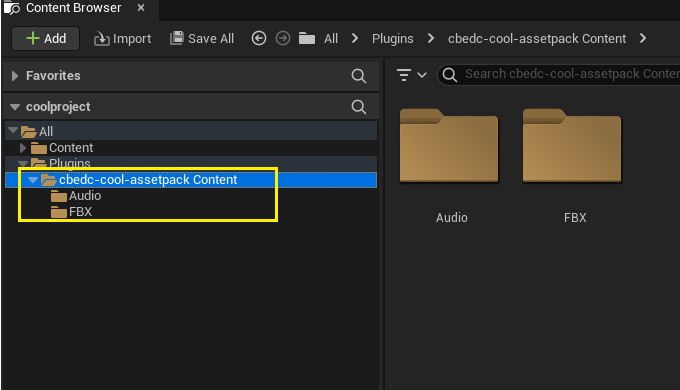
Make sure to place all assets you've created or imported within the Plugin Content folder you've created in the last step. While you're free to create sub-folders to better organize your files, they all need to be housed within this main folder.
Assets like FBX meshes or WAV sounds can be easily added by dragging and dropping them directly from your computer into the respective folder.
📝 Note: If a popup appears, just click on "Import all"
Publishing the Asset Pack
In order to start publishing an item, save your project first by clicking in File -> Save All on the Unreal Engine main menu.
Once you've finalized your asset pack, go to Asset -> Publish Asset -> Asset Pack Name.
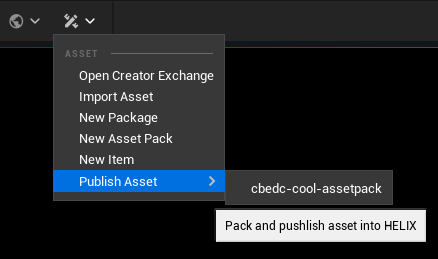
Studio will then cook and upload your asset pack to the HUB.