Creating a New Project in Studio
Before you start:
- Download and install HELIX Launcher.
- Install Unreal Engine as detailed in Setting Up Unreal Engine.
- Review the Assets Guide to familiarize yourself with core concepts.
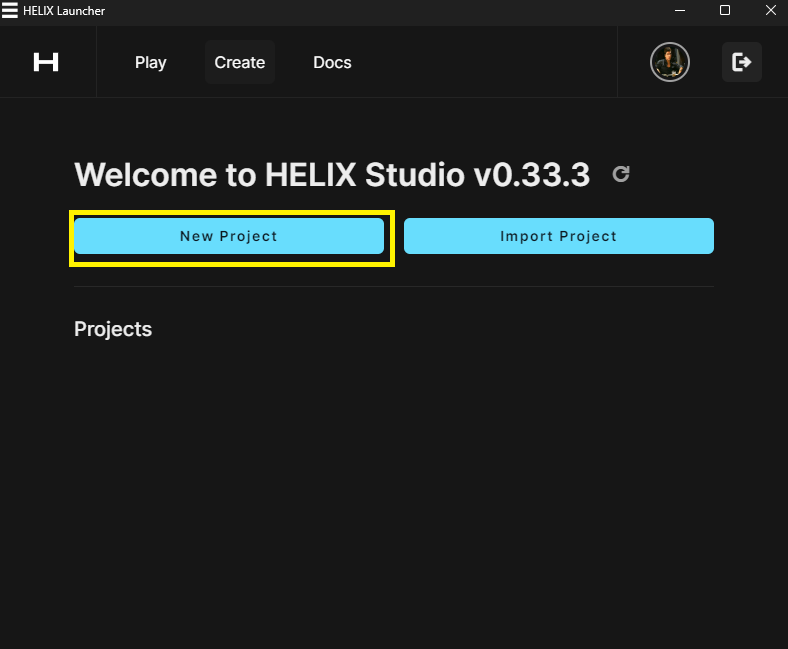
Initiate a New Project
Open HELIX Launcher and go to the Creation tab, just click on the "New Project" button
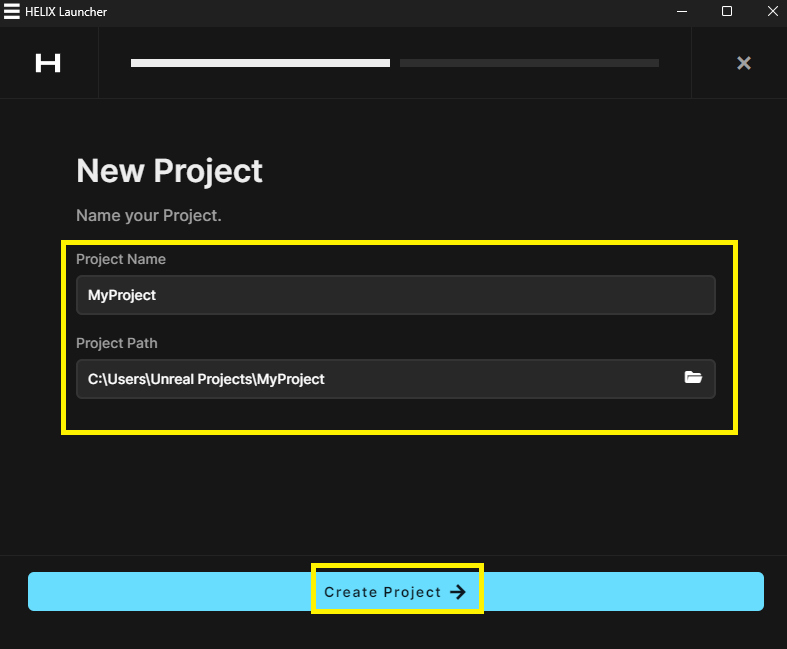
Fill in required information and click on "Create Project"
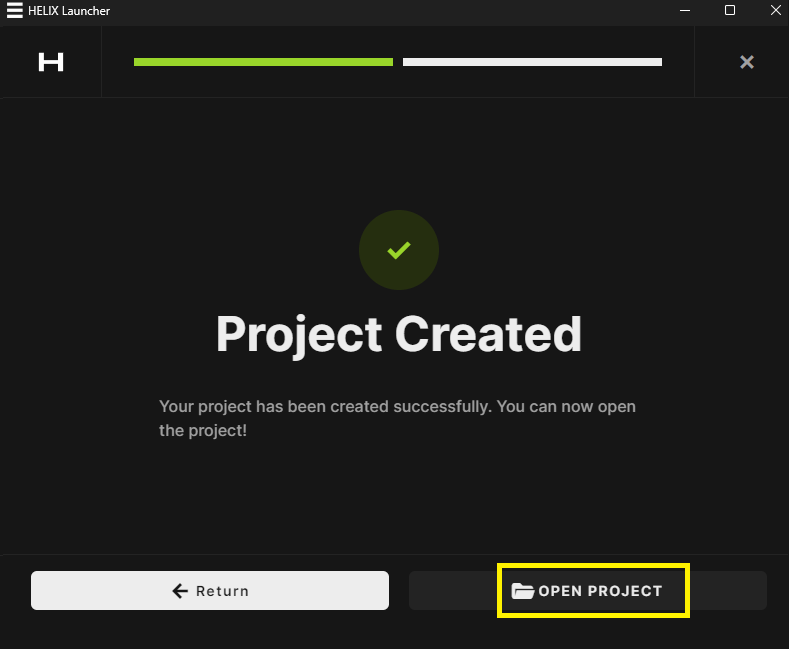
Then a "Project Created" message will be displayed, click in "OPEN PROJECT" to open Studio plugin in Unreal Engine
Enter the Editor:
Now Studio is ready to start working with items, assets and packages.
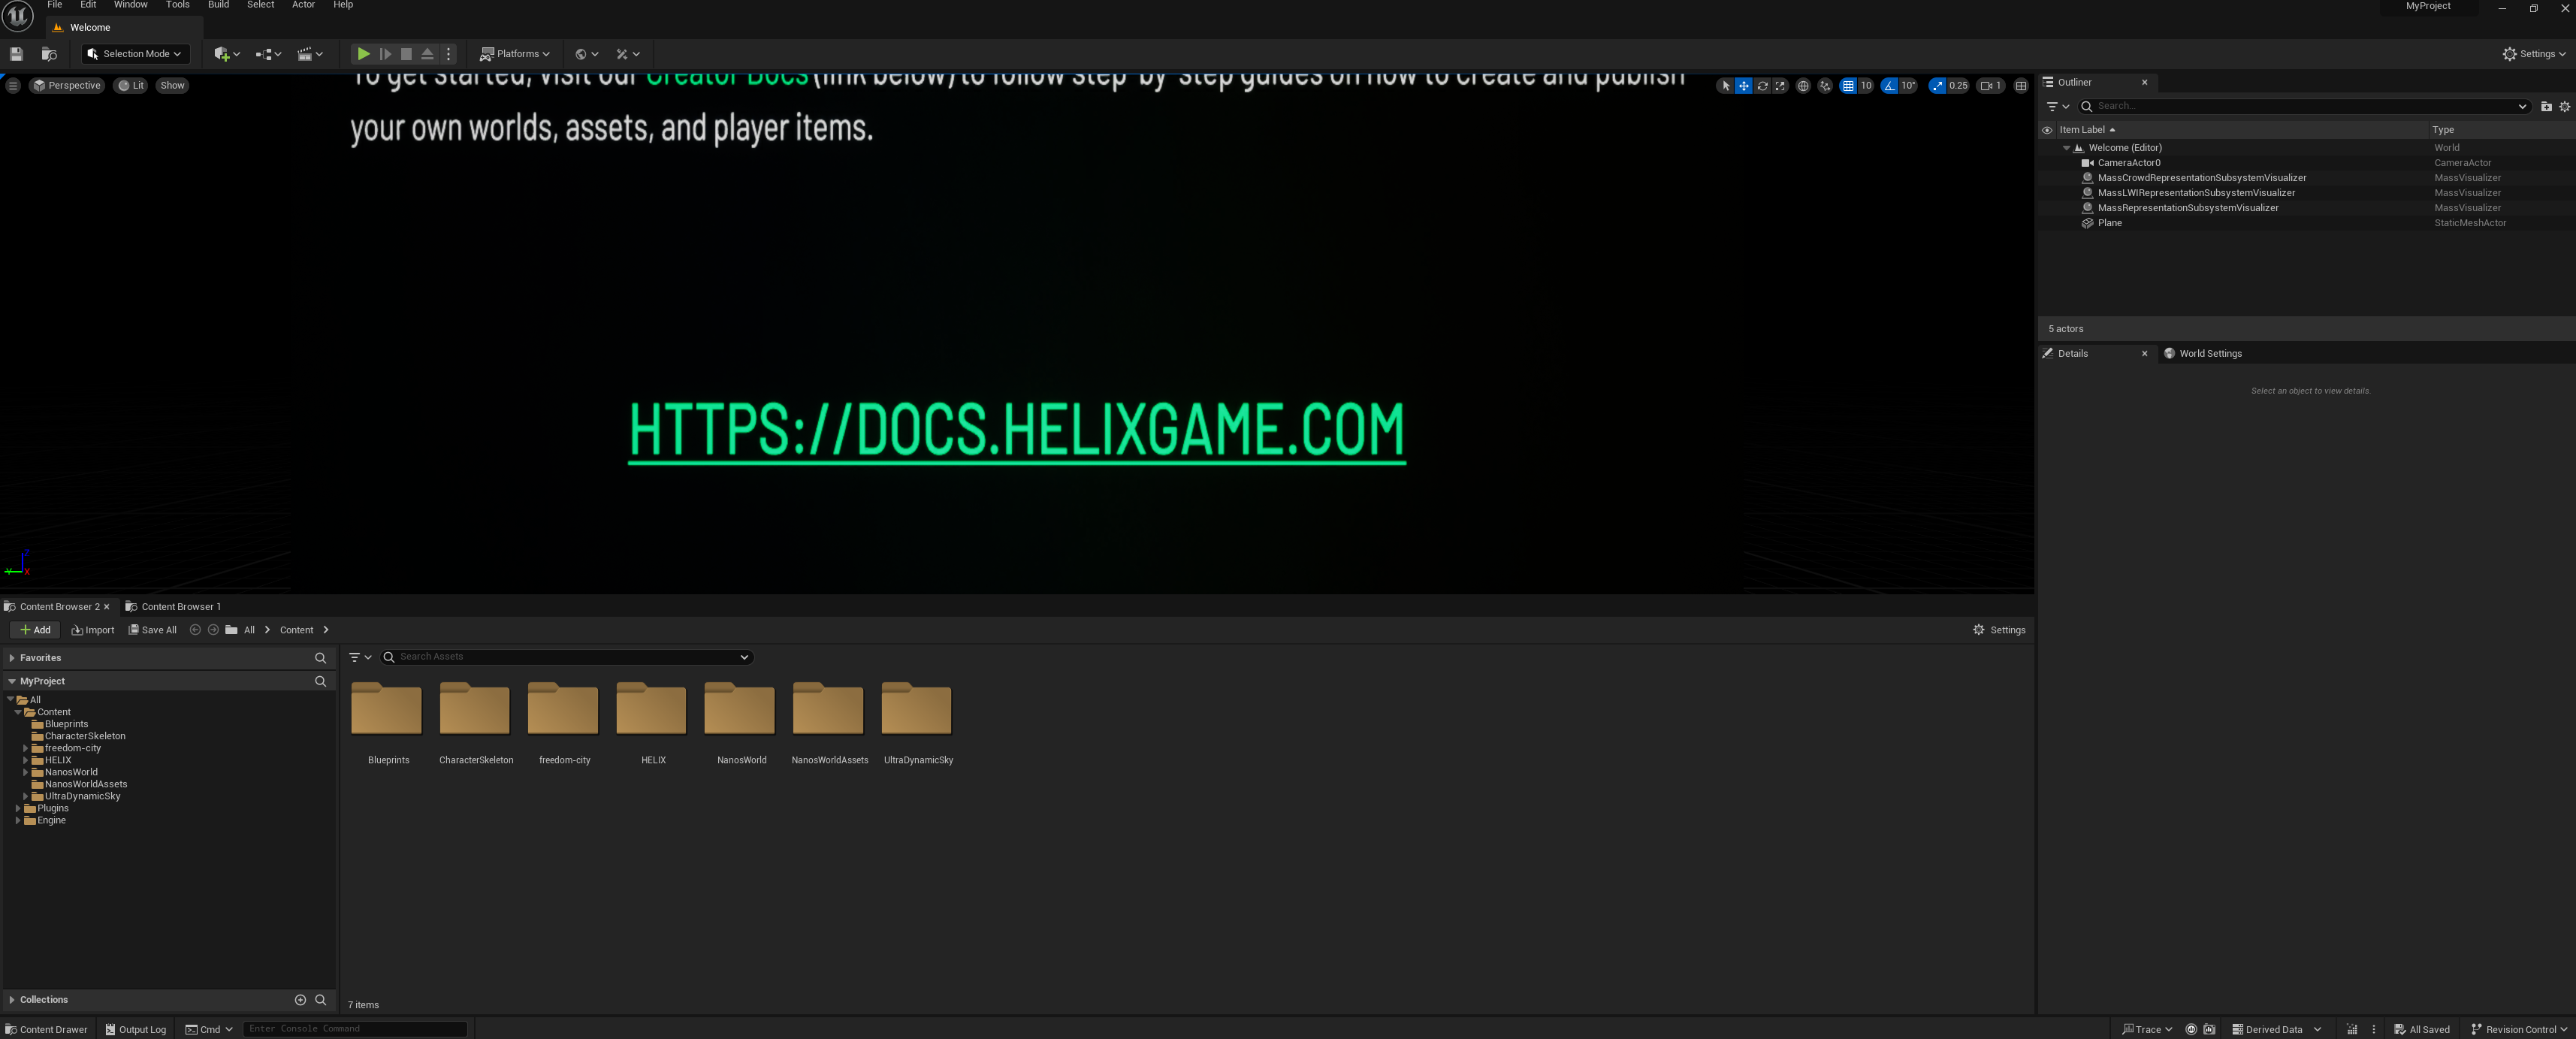
Layout Overview:
After entering the editor, observe the two additional buttons on the top labeled World and Asset.

World: Features tailored for world-related development.Asset: Tools designed for asset-related development.
For an in-depth exploration of these features, refer to Studio Features.
Additionally, a unique content folder will be generated under the plugin based on your project name. For instance, if you named your project MyProject, the folder will appear as my-project Content.
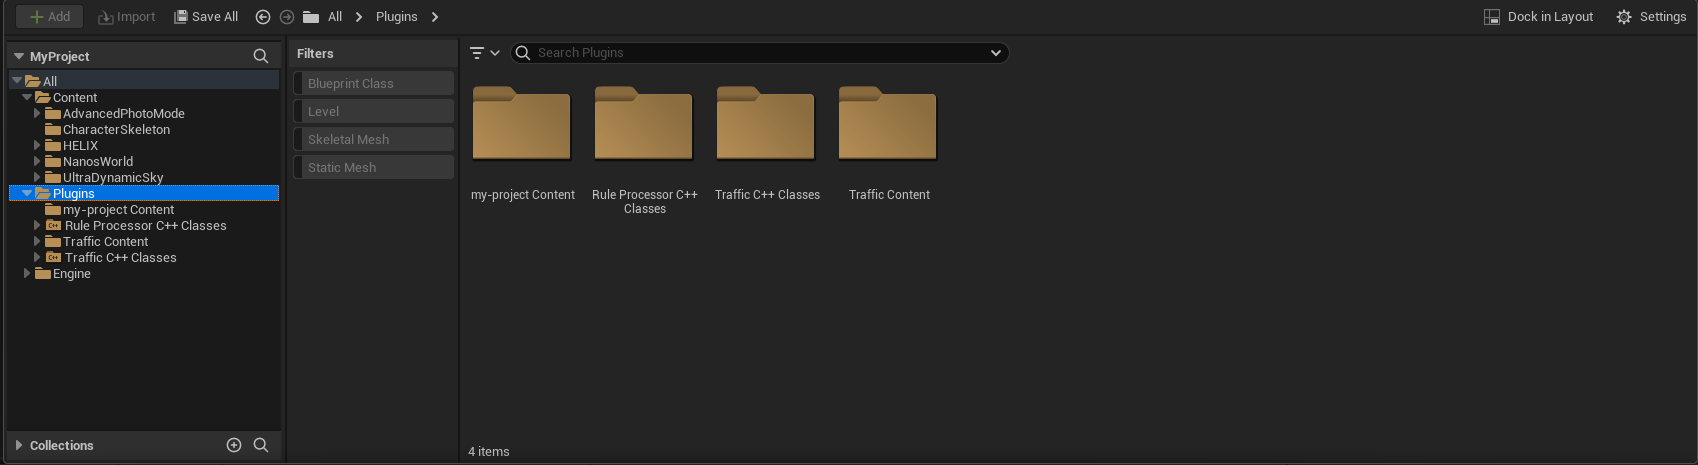
Avoid modifying any files within the project's Content folder. Changes here won't reflect in the game client.
What's Next?
With your project set up, it's time to craft your world or asset pack. Dive into Creating a World or Designing an Asset to kickstart your journey!